


Your oven is an essential kitchen appliance, and it’s no surprise that it can accumulate grease, spills, and food residue over time. Regular cleaning not only ensures that your oven remains hygienic but also helps maintain its efficiency. However, different ovens require various cleaning methods to achieve the best results.
For instance, to clean a conventional oven, ensure your oven is completely cool before you begin cleaning. Also, you must use the best cleaning products to give you the desired results.
In this blog, we will provide a comprehensive DIY oven cleaning guide. Here, we provide tips on cleaning different types of ovens, including conventional ovens, self-cleaning ovens, and microwave ovens.
How to Clean Your Oven
Cleaning your oven may seem daunting, but with the right approach, it can be a relatively straightforward process. Here are some oven-cleaning tips.
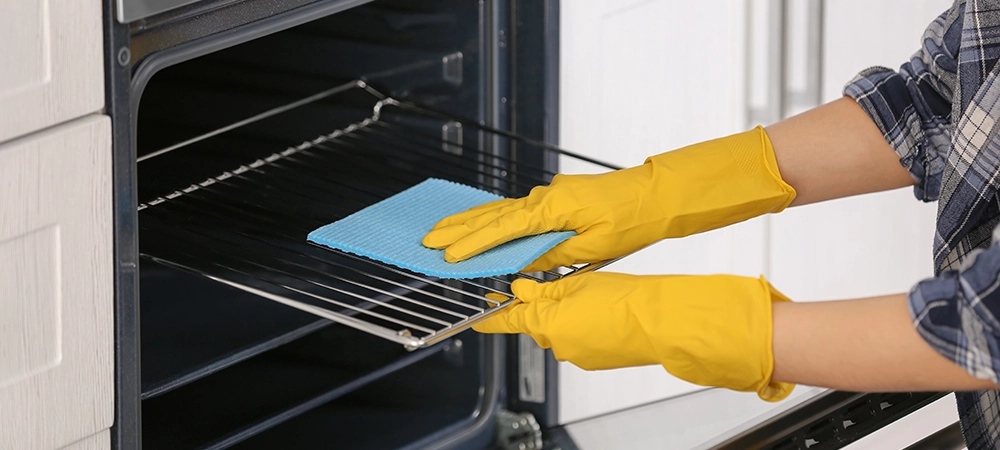
Cleaning a Conventional Oven
Conventional ovens are the most common type and often require manual cleaning. Follow these steps to clean your conventional oven:
- Gather Supplies:
- Rubber gloves
- Oven cleaner or a mixture of baking soda and water
- Plastic or silicone spatula
- Scrubbing sponge or non-abrasive scrub brush
- Old cloth or paper towels
- Safety First:
- Ensure your oven is completely cool.
- Wear rubber gloves to protect your hands.
- Remove Racks:
- Take out the oven racks and set them aside for separate cleaning.
- Scrape Loose Debris:
- Use a plastic or silicone spatula to gently remove any loose debris or burnt-on food.
- Apply Cleaner:
- Apply your chosen oven cleaner or a paste made from baking soda and water to the oven’s interior. Avoid getting the cleaner on the oven’s heating element.
- Let it Sit:
- Allow the cleaner to sit for the recommended time, usually 15-30 minutes.
- Scrub and Wipe:
- Use a scrubbing sponge or non-abrasive scrub brush to remove grime and residue.
- Wipe the interior with a cloth or paper towel.
- Clean the Racks:
- While the oven is drying, clean the oven racks in a bathtub or large sink using warm, soapy water. Scrub any stubborn stains with a sponge or brush.
- Reassemble and Test:
- Once the oven and racks are thoroughly dry, reassemble everything and test the oven to ensure it’s functioning correctly.
Cleaning a Self-Cleaning Oven
Self-cleaning ovens are designed to burn off food residue and turn it into ash. Here’s how to clean a self-cleaning oven:
- Safety Precautions:
- Make sure the oven is cool.
- Remove any large debris.
- Start the Self-Cleaning Cycle:
- Follow your oven’s user manual to initiate the self-cleaning cycle. This process can take several hours.
- Ventilation:
- Open windows and doors or turn on kitchen exhaust fans, as the self-cleaning cycle can produce smoke and odours.
- Wipe Away Ash:
- After the cycle is complete and the oven cools down, use a damp cloth or sponge to wipe away the ash residue.
- Cleaning the Door:
- If your oven’s window is stained, use a glass cleaner to clean it.
Related Article: What are the Most Common Problems with Samsung Ovens in Toronto?
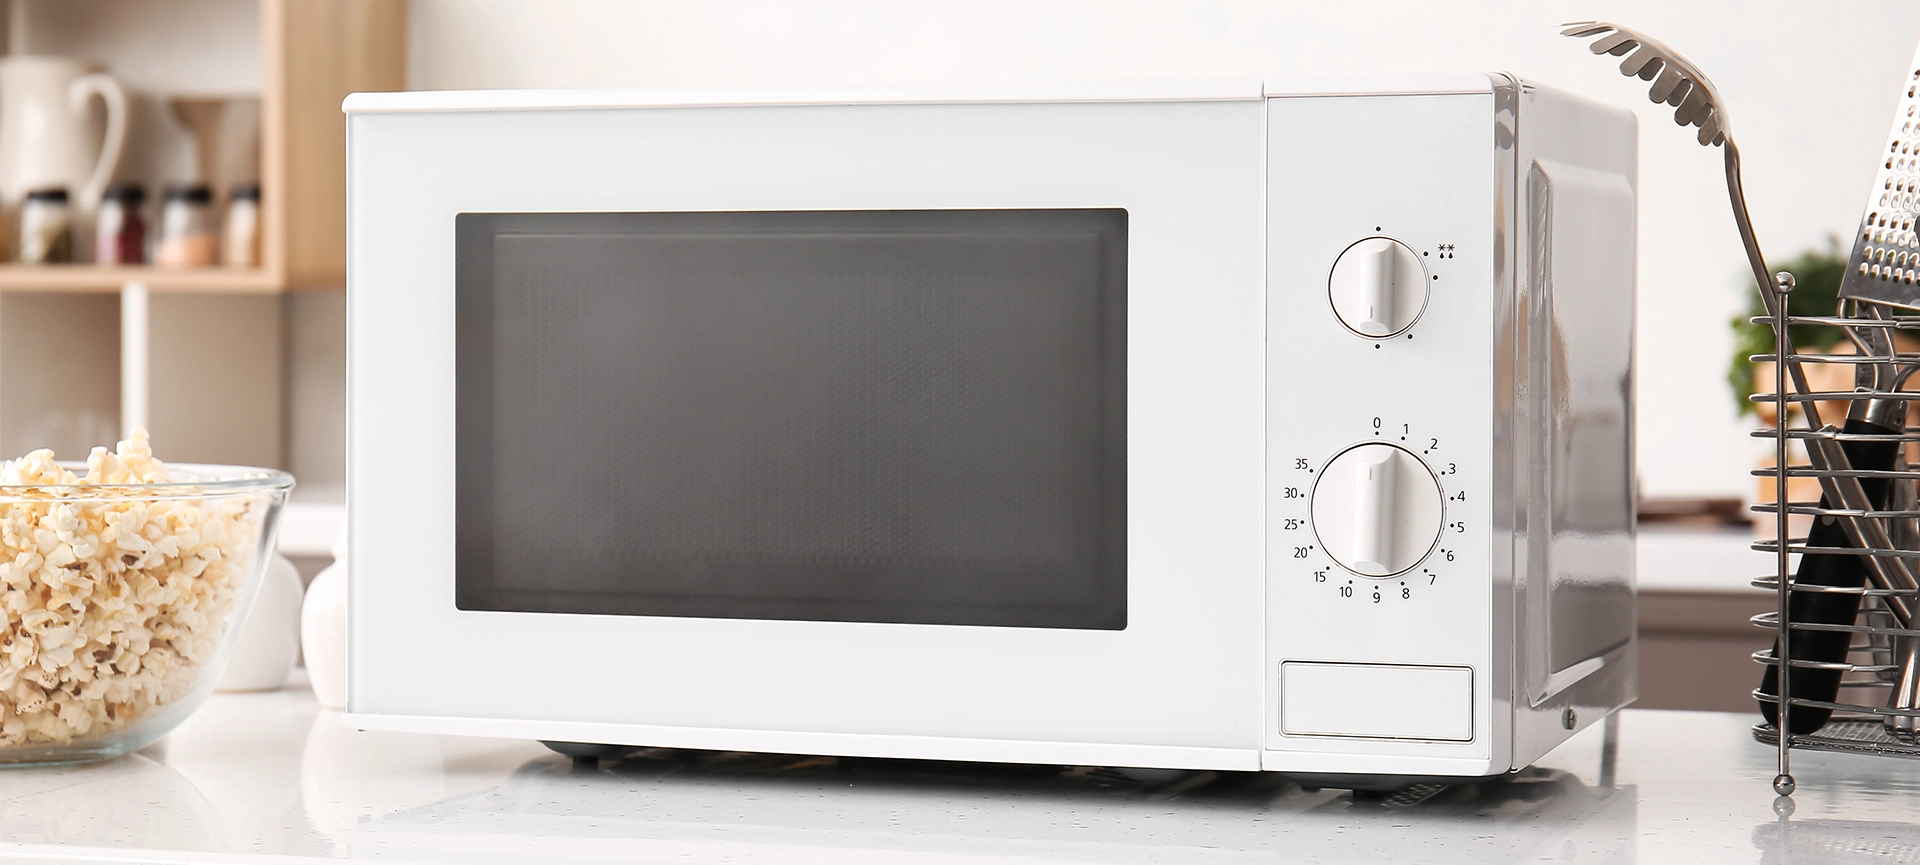
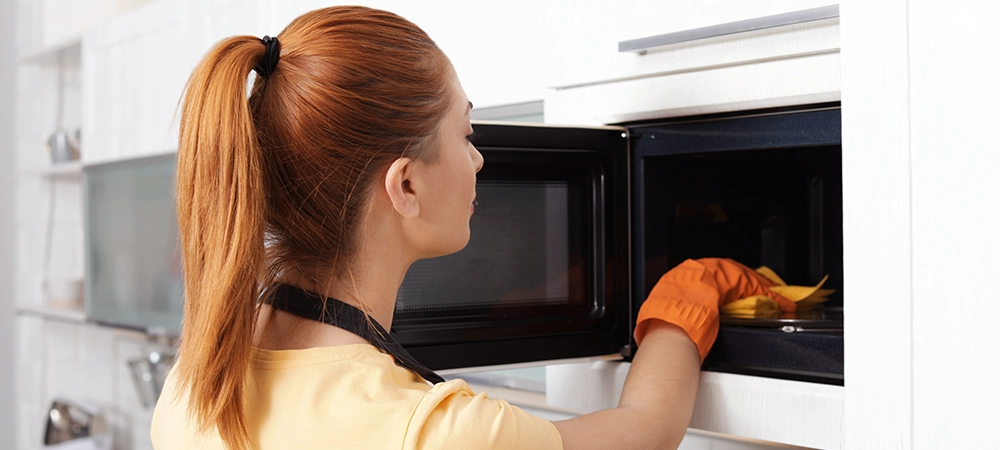
Cleaning a Microwave Oven
Microwave ovens can also accumulate grime and food splatters. Follow these steps to clean your microwave oven:
- Gather Supplies:
- Microwave-safe bowl
- Water
- White vinegar or lemon juice
- Microwave-safe cloth or sponge
- Baking soda
- Wipe Down Interiors:
- Start by wiping down the interior with a damp cloth or sponge.
- Steam Cleaning:
- In a microwave-safe bowl, mix 1 cup of water with one tablespoon of white vinegar or lemon juice. Place the bowl in the microwave.
- Microwave:
- Microwave the bowl for 5-10 minutes, allowing the steam to loosen any grime.
- Wipe and Deodorize:
- Carefully remove the hot bowl, and use the damp cloth or sponge to wipe away the softened grime.
- Sprinkle some baking soda inside the microwave to deodorize it.
- Exterior Cleaning:
- Clean the exterior of the microwave with a mixture of water and a mild dishwashing liquid. Wipe it dry with a clean cloth.
Related Article: Troubleshooting Tips for an Oven That Won’t Turn Off
Keep Your Oven Performing at Its Best
Cleaning your oven is simple but necessary to ensure it remains efficient and hygienic. Different types of ovens require distinct cleaning methods, but with the right oven maintenance routine, you can keep your appliance in top condition.
Whether you use a conventional or a microwave oven, following these DIY cleaning tips in this guide will help you maintain a sparkling and functional appliance. Regular oven cleaning not only extends the life of your oven but also ensures that your cooked dishes are free from unwanted odours and flavours.
Contact us at Prime Appliance Repairs for all your oven maintenance and repairs. Reach out to us at 1-833-811-3300.