


Refrigerators are vital home appliances that keep your food from spoilage. This benefit and more are why you’ll likely feel uncomfortable if it malfunctions. But you’ll be a step ahead of such situations when you know refrigerator repair hacks.
We understand your refrigerator can develop problems anytime. And you may not have immediate access to repair technicians at such points. Sometimes, you may not even have the means to enlist repair services.
Understanding the above, we’ll take you through possible problems your refrigerator can develop. Alongside, you’ll also learn how to fix your faulty fridge.
We also know you may not have prior knowledge of electrical fixes. This reason is why this guide to fixing a faulty refrigerator is very explanatory. So, you have no worries as a DIYer.
DIY Refrigerator Repair Hacks You Need to Know
Carrying out refrigerator repairs yourself is easy once you have some essential tools. Such tools include cordless drills and manual screws. Also, you may need access to repair shops to purchase parts requiring replacements.
Now let’s get into refrigerator repairs for the most common fridge problems.
1. A Leaking Refrigerator
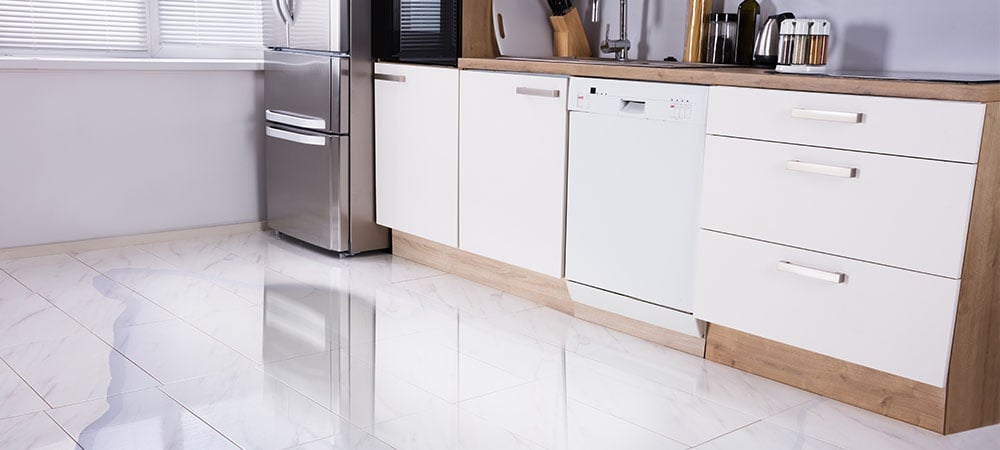
You can easily diagnose this fault in your refrigerator. Firstly, you’ll notice your refrigerator is emitting water onto your kitchen floor. Or you may discover a pool gathering on the floor of your fridge.
Fixing a leaking refrigerator is as easy as diagnosing the fault. The main reasons there can be leakages in a fridge will involve the door gaskets, drain pan, or defrost drain.
Solutions
- Cleaning or Replacement of Door Gaskets: Refrigerator gaskets are the soft rubber linings on the door perimeter. And they can leak water beneath if they don’t seal well. Therefore, fix this by wiping the sealing parts with warm water and mild soap.
It may happen that the above fix doesn’t work. Don’t fret. This feedback is an indication that you need to change the entire door gaskets.
- Defrosting or Unblocking Refrigerator Drain: Examine your drain to know if it’s cloggy. A clogged drain won’t allow normal outflow of water.
Extract any hindrance in the drain with hot water or a vacuum cleaner.
- Clearing or Cleaning Refrigerator Drain Pan: The drain pan will start leaking water when it’s too full. Therefore, first, check if it’s the cause of the leakage. Once sure, clear the water from the drain pan.
Also, clean the drain pan with warm soapy water and a soft cloth before returning it. Additionally, please, don’t use abrasives to clean it.
Your drain pan may develop smelling mould spots. Simply use a gentle bleach solution in warm water to clean. And please rinse the pan after cleaning before replacing it.
Related Article: Top Reasons Why Your Refrigerator Isn’t Cool
2. A Noisy Refrigerator
Loudness is another problem you may encounter with your refrigerator. Don’t get it wrong. Your refrigerator making sounds is normal.
For example, ice clattering in your refrigerator is a normal sound. Also, your refrigerator making sounds in-between cooling sessions isn’t awkward.
But the sound is abnormal when it becomes unpleasant or disturbing. These rattling sounds usually come with vibrations too. They are typical buzzes or whirrings.
Solution
- Level Refrigerator: Most refrigerators come with legs or tyres that level them on the ground. Unfortunately, floors sag and damage as time goes on. Therefore, there’s a possibility of an imbalance in your refrigerator standing.
This imbalance causes your refrigerator to vibrate and emit funny sounds. So, the need to rebalance the levellers arises. First, use a screw to turn the legs. Also, while adjusting the levellers, keep the fridge door halfway open. And continue adjustment till the door swings shut itself.
The reason for the door opening is because of a recommendation. This recommendation says refrigerator doors should independently close when 45 degrees open.
- Position your Fridge on Soundproofing Mat: Another refrigerator repair for this problem is using soundproofing mats. These mats are usually made of dense foams. And you’ll quickly get them from an online store.
After purchasing the mats, slip them under the refrigerator. This placement means the legs and levellers of the refrigerator must be on the soundproofing mats. Then the unpleasant sound should reduce.
An alternative to a full soundproofing mat is anti-vibration pads. You can get these pads from an online store too.
Once you get them, slip them each under the leveller or legs of the refrigerator. You can have a neighbour or partner help you tilt the fridge while you slip in the pads.
- Adjust Refrigerator’s Ice Maker: Your refrigerator may give a buzzing sound within a 10 to 15 minutes interval. The buzzes may last about six seconds. This buzz means your ice maker is trying to make ice but can’t because there’s no water reception.
Therefore, just turn off the ice maker to stop the buzzing sound. Also, you can lift the ice sensor arm.
Afterwards, ensure the supply valve beneath the sink is on. Then check the back of the fridge to ascertain the line is still in place and isn’t leaking.
- Change Refrigerator Evaporator Fan Grommets: This fan distributes air through the coils for even temperature maintenance. But as the refrigerator ages, the fan loses firmness, and its rubber grommets may break. Therefore, it may start producing an unpleasant rattling sound.
You can stop the rattle by changing the grommets. First, ensure you disconnect your refrigerator from the power source before starting this grommet-changing process. Afterwards, check your freezer compartment to access the evaporator.
Next, remove every shelf and item from the compartment. Then use a screwdriver to open the vent shielding the evaporator fan. Additionally, remove the fan and detach the old grommets to replace them. Lastly, reinstall the fan and tighten it well.
You may not feel comfortable loosening your refrigerator this deeply. Therefore, you simply enlist refrigerator repair services.
3. Refrigerator or Freezer Not Cold Enough
There are times your fridge is working, but your food seems to be spoiling too fast. Or maybe you touch an inner part of the fridge, and it feels less cold than it should be. The refrigerator repair for this problem is simple too.
Solution
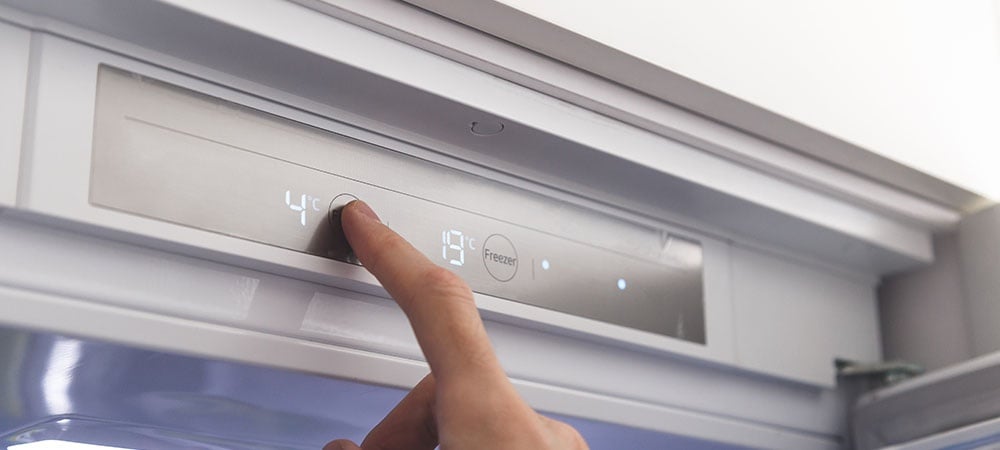
- Adjust Settings Of Refrigerator Temperature: You may feel that this fix is too simple to be part of a refrigerator repair guide. But sometimes, the simplest things cause the biggest problems. Therefore, ensure no accidental temperature adjustment to a warmer setting.
Also, some refrigerator temperature settings are confusing. You may feel you set it appropriately. But it could turn out as the wrong adjustments.
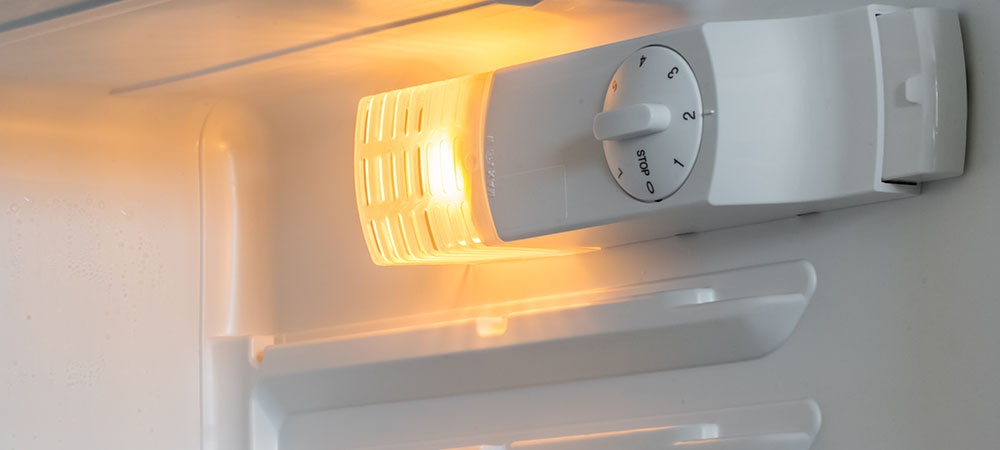
The thermostat switch is mostly inside the refrigerator and rarely outside it. So locate yours and follow the refrigerator manual to set it as low as possible. And ensure you hear the compressor click.
Then move the thermostat back up to the normal temperature of 40⁰ F.
- Check Refrigerator Door Gaskets: Your fridge may work perfectly but lose its coldness. This malfunction may be due to slackly sealing gaskets. Slackly closing gaskets are usually due to dirt.
Household debris and dust can constantly get your gaskets dirty. Therefore, first, clean the seals with warm and soapy water. Afterwards, massage the surface of the seals with a bit of petroleum jelly.
Kindly replace the seals if the above doesn’t work.
- Check Refrigerator Box for Blockage: Tall or big items in your refrigerator or fridge compartments can block cold air circulation. And this is possible when they’re close to the air vents in the refrigerator.
Therefore, consider rearranging the items in your refrigerator. For example, move all dominant items away from the vent. Also, declutter your fridge of stale food items or empty containers.
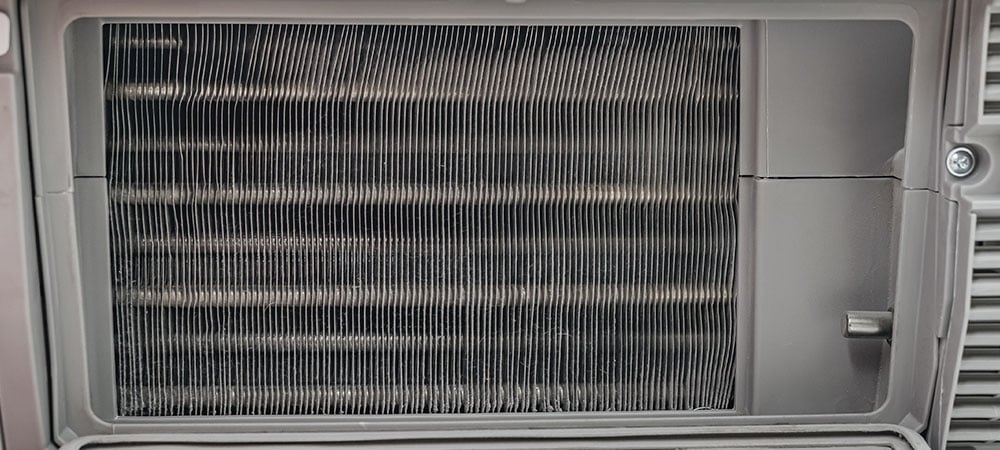
- Clean Refrigerator Condenser Coils: Your fridge won’t cool adequately if your condenser coils are filthy.
Dirt building up in your condenser coils is inevitable. In fact, you’ll especially need to clean them more frequently if you have a considerable number of people or pets in your home. And you’ll need such sanitation at least once every two to three months.
First, move the fridge from the wall and disconnect it from the power source to clean the condenser coils. Then, get the grille to detach by simply pulling it straight back.
Afterwards, a shop or household vacuum will perfectly work in conjunction with a long material to clean the coils. While you clean, use a flashlight to monitor your progress.
Also, be very careful while cleaning the coils. If not, you can break the coils. And fixing that isn’t only expensive. You’ll definitely need a refrigerator repair technician for it.
- Add More Items to Refrigerator: Isolating small items in a big fridge or freezer may cause your items not to cool well. Your refrigerator needs a considerable number of containers with content to draw and retain cold. The cold on retention will help the smaller items too.
So, water, milk, or juice containers are perfect fillings for your fridge to retain and maintain coldness.
When you buy enough foodstuff, you can remove water containers to fill the fridge and retain cold appropriately.
4. Refrigerator Is Too Cold or Freezes Over
The essence of your refrigerator is to cool food items. But there can be instances when your fridge gets too cold. For example, your refrigerator has safe food strorage problem when its fridge compartment starts freezing.
The first thing you definitely should check is the thermostat. If that’s not the issue, there are other refrigerator repairs for this problem.
- Examine Refrigerator Damper: The damper is that component in the fridge that regulates the inflow of cold air. Therefore, there’ll be a torrential influx of cold air if the damper is stuck in an open position.
You’ll find the damper just between the freezing and cooling compartments. And the thermostat is its controller.
- Change Refrigerator Thermostat: The thermostat in your refrigerator may be the issue here too. And replacing it is simple. Just order a new one online.
Before ordering, ensure you know the model number of your refrigerator. This knowledge will inform the type of thermostat you buy and save you from compatibility issues.
To fix a new thermostat, disconnect the fridge from power first. Then access the cooling section.
Use a screwdriver to detach the cover on the cooling compartment. Typically, there are only a few screws that tighten this part.
We advise you to use a Phillips head screwdriver. It’ll aid the smoothness of the unscrewing.
With the same screwdriver, uncover the plastic control assembly. Again, you’ll need to be careful while removing the cover because it’s bound to the refrigerator with wires.
Upon uncovering it, you’ll find the thermostat – a bronze-coloured metal component with plastic capillary tube and copper wires.
You’ll need to take a clear picture of the wire connections to the old thermostat at this juncture. This visual will aid in installing the new one.
Afterwards, detach the wires by pulling them straight out. Then remove the tube.
Generally, a new thermostat installation is a one-for-one replacement. Therefore, you should find two black wires doubled up and bound to one terminal. Additionally, you’ll find one green ground wire and an orange wire.
Refix the capillary tube. Lastly, couple the assembly covers with their appropriate screws.
10 Maintenance Activities to Keep Your Fridge in Great Working Conditions
Faults in your refrigerator may be inevitable. But you can minimize the frequency of fault development.
Below are tips to keep your fridge in excellent condition most of the time.
- Always remember to close your fridge door quickly.
- Constantly examine and clean your refrigerator’s door seal.
- Check and set the thermostat to the appropriate cooling temperature.
- Cover and arrange food items and containers properly in the fridge.
- Avoid blocking the vents in the fridge.
- Dispose of ice buildup.
- Don’t place your refrigerator too close to the wall.
- Ensure you clean your refrigerator at least once a week.
- Place your refrigerators on the floor well.
- Remember to clean the fridge’s condenser coils constantly.
Related Article: How Do I Fix My Refrigerator At Home

Summary
Your refrigerator can develop faults at any time. But with this ultimate refrigerator repair guide, you’ll not only diagnose your faulty refrigerator yourself. You can even go ahead to fix it.
You may now know how to fix your refrigerator when it develops some faults. But sometimes, you don’t want to go the DIY way. Fortunately, we offer the best refrigerator repair services in Ontario.
We have the best repair technicians on board for any problem your fridge may develop.
Contact Prime Appliance Repair to enlist our same-day refrigerator repair services today.