Using a dryer without a dryer vent cover is a risky business. The absence of a vent cover means you’re subconsciously creating a home for rats in your home.
And it’s not just about a rodent outbreak in your home. While it’s a rare occurrence, a recent National Fire Protection Associations report says the absence of a broken dryer vent cap can cause a fire.
Dryer vent covers can be plastic or metal material. Because you’ll often have to remove and re-install them, the material is often lightweight. Unfortunately, it’s lightweight nature is the reason a dryer vent cap is susceptible to damage.
Plus, a broken dryer vent cap isn’t a situation you can manage. A dryer vent cap does more than prevent rodent damage in your ducts. It also blocks moisture, bad odour and dirt from getting into your home.
Therefore, it’s important to figure out a way to replace a broken dryer vent cap before the situation gets worse. Luckily, it’s a situation you can fix yourself — as long as you’ve got patience, a few tools and a technical guide. To that end, here’s how to replace a broken dryer vent cap.
Steps to Fixing A Broken Dryer Vent Cap
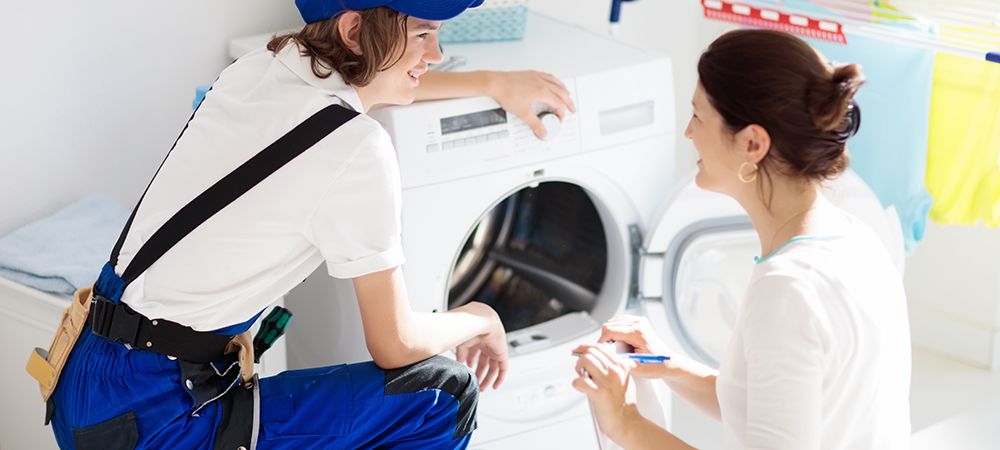
Before you start the process of fixing your dryer, it’s wise to check the overall health of your dryer. That’s why it’s always better to call an expert for any dryer repair issues. They can always inspect your device for any other issues and fix them the same day.
Confirm whether air is coming through the vents. Check for unrestricted airflow by turning on the air dryer and allowing it to run for a minute. Restricted airflow means there’s a blockage in the ducts, and it means your system is a fire risk.
Conversely, you can go ahead to fix the dryer vent covers if air is passing smoothly through the vents. Here are the steps to replace your broken dryer vent cap:
Get All Necessary Materials
A dryer is a complex machine that works with both water and electricity. Therefore, there’s a lot of screwing and fixing that goes into installing one in your home. These many screws and fixes ensure your dryer is safe for use. But, they can also make it a tad bit complicated to remove the dryer cover.
Blockages can also prevent you from removing the dryer vent cover easily. Without the necessary tools, removing that dryer vent cover will almost be an impossibility.
Here’s what you need to have handy;
- A screw to unscrew all nuts holding the dryer cover. Some vent covers have different screws holding each place separately. Therefore, a 4 in 1 screwdriver is the best one to buy, except if you know the exact type of screws.
- A small utility knife comes in handy when you need to cut the vent into shape. Also, you may need to cut some hindrances before getting to the vent.
- A microfiber cloth to remove lint in the dryer vents
Related Article: Ten Common Dryer Problems
Inspect Vent Cover to Understand the Pipework
It’s one thing to know you have a broken dryer vent cover, and you need to replace it. However, it’s another thing to understand how to get to the broken vent cover.
Usually, pipework connections are not complex. But because experts want the pipe out of the way, they try to hide them. Visible pipework in the way of heavy traffic may suffer damage easily. Therefore, dryer installation experts try to make the ductwork as discreet as possible.
As a result, this repair job may require you getting into the basement to enjoy unrestricted access to the vent dryer. Regardless of the pipework connections, you also have to get behind the dryer.
Remove Vent Cover from the Last Pipe Connection
Replacing the broken dryer vent is easier when you have a clear sight of what you’re working on. Always remain calm and patient while trying to replace a broken dryer vent cap. Don’t try to rush the process so you don’t spoil the dryer as a whole.
The first step is to find the last connection of the dryer vent cover to your pipework. Usually, the dryer cover has its last connection inside the house.
You may be in luck, and the only thing you need to do is pull out the vent cover from the last pipe connection. But this type of connection is very rare in most dryer installations. Most of the time, you’ll need to unscrew the pipe behind the dry vent cover pipe.
In some other cases, experts may use duct tapes to secure the pipes. If your dryer has such connections, you’ll have to unscrew it and remove the duct tapes. Another hindrance to the steps to fixing your dryer vent cap is the caulk.
Usually, when an expert installs a dryer vent cap, they fix it with a caulk to secure the cover to the vent. You’ll need to remove the caulk seal before you can replace the broken dryer vent cover.
We’ll explain how you can cut the caulk easily in this comprehensive guide to fixing a broken dryer vent cap,
You can carefully follow this process:
- First, remember that you’ll still need the caulk. Therefore, exercise caution while removing it in the first place.
- This is the first point where you’ll need to use your knives to cut through the caulk. You have to cut it as carefully as you can. In most cases, the caulk is attached to the wall. Cut too deep and you may end up cutting into the wall. When that mistake happens, you may not have enough space to fix the vent back.
- You can replace a broken dryer vent cap easily after you remove the caulk sealing. Pull out the cap from its seal. Sometimes, it may even come off when you have removed enough caulk.
- In some cases, an expert may seal the vent cover with caulk and screws at the back. In this case, the cover won’t come off without unscrewing at the back. After unscrewing the nut, your cover should pop out from outside.
Check Your Dryer for Any Present or Potential Issues
There are many things that can cause your dryer cover to break. It may be because of the texture of the dryer, and in some cases, it may be due to the dirt from the inside. The best thing you can do before you replace your broken dryer vent is to confirm the initial problem. You don’t want to fix your dryer cover today and have to fix it again the next day.
Therefore, another inspection job starts at this point. Already, your dryer cover should be off its connection if you’ve followed the steps listed above. However, you can always try to pull it out if it’s somehow stuck.
If the broken dryer vent cover doesn’t come off even after removing the caulk and screws behind the cover, then there’s a problem. It’s either you have a metallic broken dryer vent cover, and its rust will make it hard to replace. On the other hand, it may be due to the dirt inside your dryer, which gives it a slimy feel. Either way, you can easily fix it.
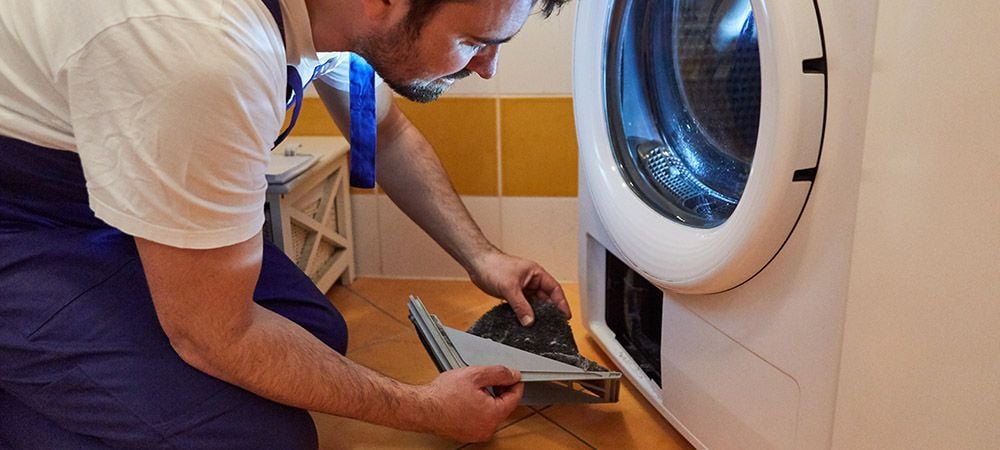
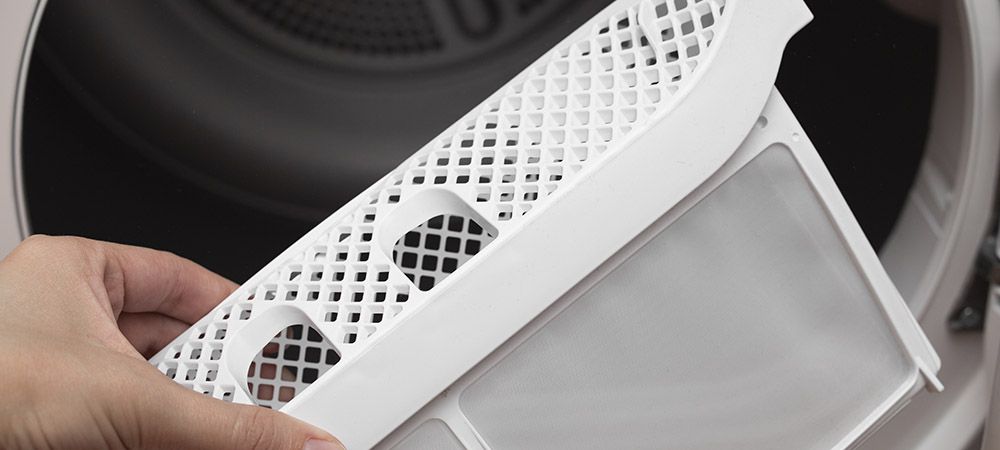
After getting the cover off the face, the next thing to do is use your microfiber cloth and cleanser to clean the dryer. If you have been using your dryer for an extended period, try to clean the lint screen. Removing all of these perks of dirt contributes to the lifespan of your new dryer vent cap. If you notice dirt, cleaning is enough to do the trick.
In rare situations, you may notice some other defects like the hole getting rotten. A rotten hole will make fixing your dryer vent cap yourself a daunting task. It’s better to call an expert at this juncture. Otherwise, you risk causing more damage to the dryer vents.
Measure and Cut Your New Dryer Vent
Now, it’s time for the real replacement of the broken vent cover. It’s at this point that you need to choose the best vent options for yourself. In a case where the broken vent cap has been in use for a long time, an exact replacement is the ideal option.
Otherwise, you can buy a different vent cover. There are vents that flap, which means they open and give way for moisture and lint to go out. The flaps also hinder insects and pets from getting into your dryer vent.
However, flapping vent covers can be fragile and will break with minimal contact from these pests and animals. Therefore, there may be a need to replace the vent cover quicker than you would expect.
You have another option of using a metallic cover to replace your broken dryer vent cap. With the metallic cover, you can rest assured of birds and pests not coming in. But because it’s metal, some moisture, wind, and lint will get stuck on the metallic cover. Hence, you’ll need to clean the metal cover frequently. You’ll end up with a rusty metal vent cover if you have poor maintenance culture.
It’s normal not to know the right choice for the best dryer to use as a replacement. A simple research on some articles on the best dryer covers may help. Also, you can easily ask an expert to give you advice. With the expert’s experience in repairing and installing dryers, you’ll get the right choice.
After choosing your dryer cover, however, measure and cut it according to the size of your cover.
Place New Dryer Vent to Test If It Fits
You can use your knife to carefully cut through the new vent to ensure it fits properly to the broken vent cap you want to replace. Cut the new vent cover in sections to ensure as much accuracy as possible. When you cut a section, put it at the location you want it to cover. That way, when you finally finish cutting, you’ll be precise or very close.
After cutting the new cover accurately, replace it in a similar manner to the broken vent cap. Simply screw the new vent cover until it fits. Then, use the caulk to seal it to the walls to ensure it stands the test of time. After that, you may want to test your new dryer vent.
Related Article: Dryer Vent Cleaning, Repair & Installation
In Conclusion
When you want to replace a broken dryer vent cap, you don’t exactly need an expert. All you need are the right tools and steps, as discussed in this guide.
Although on rare occasions, you may need an expert to fix the cause of the broken dryer vent cap. This is where we come in at Prime Appliance Repair.
While calling an expert is great, it’s necessary to call a professional you can trust. A situation where the “expert” spoils your dryer more is not what you want.
As a top appliance repair company, we have technicians and experts with years of experience in dryer installation and repair. Therefore, we can guarantee you the highest quality of dryer repair services. Call us today!


