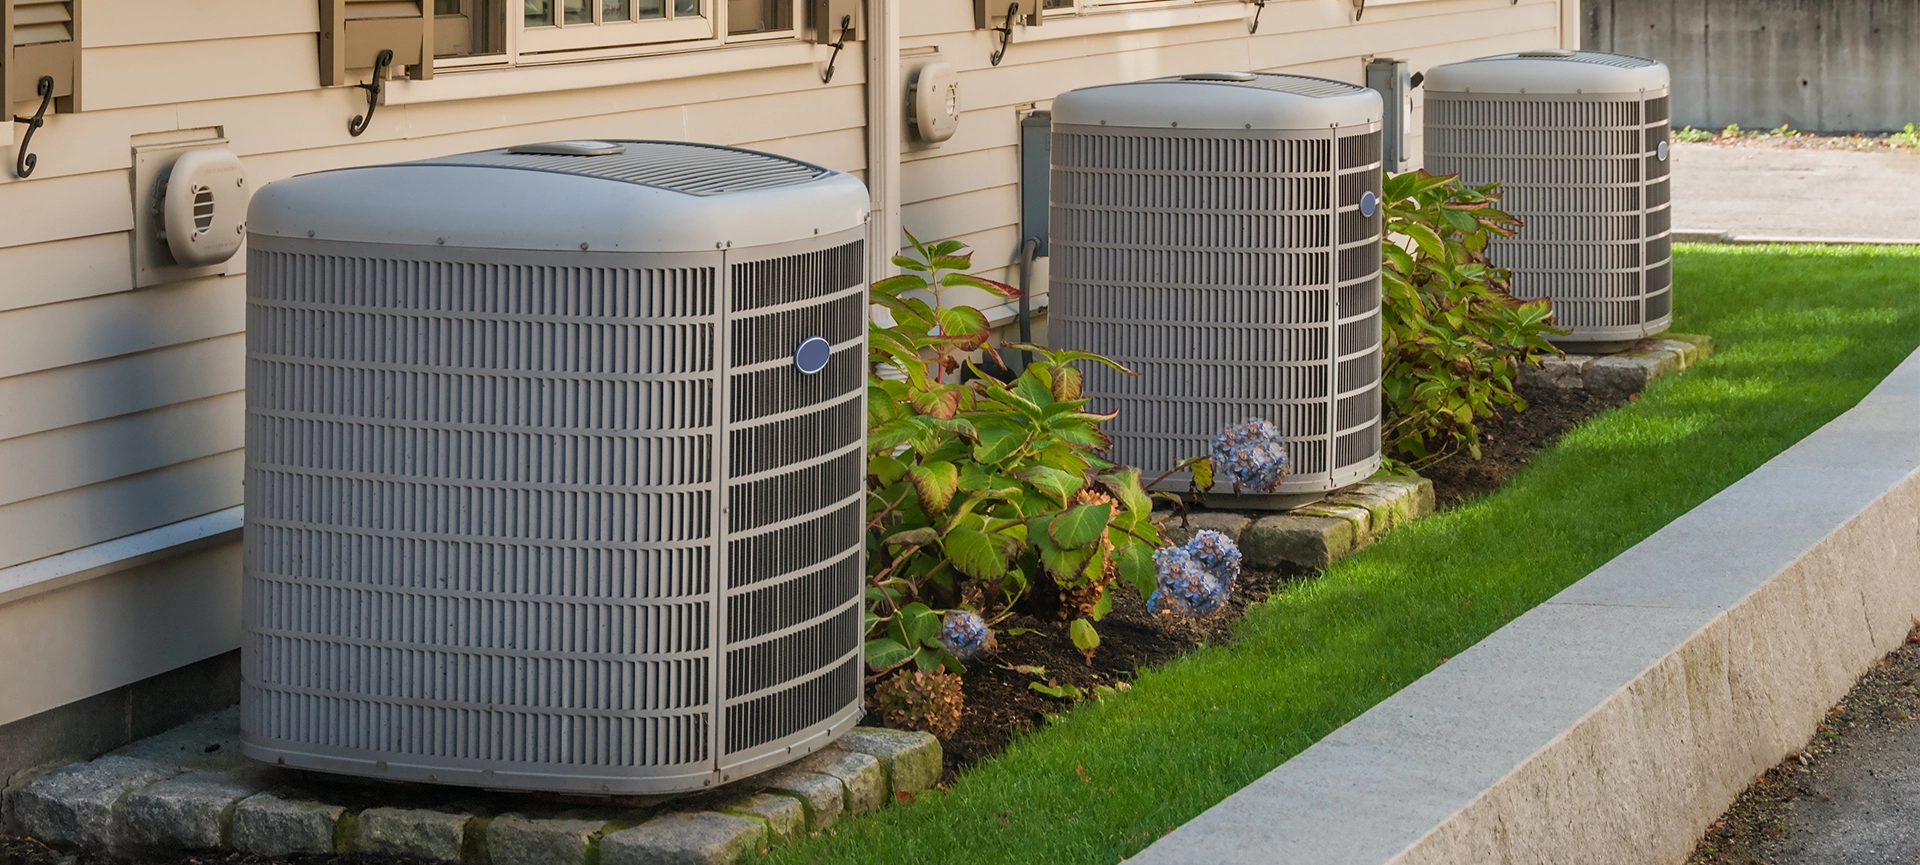


The house vents in your home are key to stopping moisture from entering the house. Faulty house vents will mean water in the house. And with moisture comes termites and rotting wood.
House or foundation vents are integral to maintaining the internal temperature of your house. Therefore, learning how to fix a house vent means you can keep your interior in great atmospheric condition all year long.
Opening your house vents during the summer months allows for optimal airflow around and under your house. And closing them during the winter season will prevent rain and snow from going under your house.
House vents also contribute to the ventilation of gas and propane lines underneath the house. The above are all reasons you need to keep your house vents in great working condition. These reasons are the motivation behind this blog.
Here, we’ll explore different maintenance efforts for your house vents. Here’s what you need to know!
Tools You’ll Need to Fix House Vents
The starting point to any home improvement project is the tools you need. Here’s an exhaustive list of tools to have handy when fixing house vents:
- Hammer
- Wire brush
- Bucket
- Clean water
- Cold Chisel
- Safety gloves
- Safety glasses
- Mortar
- Trowel
How to Fix a House Vent
Below is a step-by-step to fixing your house vent:
Remove the Faulty House Vents
The answer to how to fix house vents is a two-part one. The first part is removing the house vent. The second part is fixing the vent.
You can easily pull loose foundation vents out of their holes. This is especially easy if no mortar holds the vents in place.
And even if there’s mortar holding the vents in place, it’s a minor complication. Your hammer and cold chisel will come into play in this situation. Use them to chip away at the mortar present in the hole.
You want to avoid chipping into the foundation while removing the mortar. The mortar layer is already thin and should give way with minimal force.
Some unique situations may require a sharp pull at the centre of the vent. And it doesn’t always work. Sometimes, you may need to enter the crawl space if the vent still doesn’t budge.
Enter the crawl space and look for mortar holding the vents in place from behind. Then, you can chip at the mortar and remove the house vent when it gets loose.
The hard work doesn’t stop at removing the mortar bits holding the vents back. House vents sit in special holes, which you can clean with a wire brush. This cleaning step is essential to remove old mortar bits in the hole. Plus, the wire brush must reach the inside, hard-to-reach corners of the vent hole.
Install the Foundation Vents
This step is the major reason many have questions about how to fix house vents. Unless you’re a professional vent and appliance repair technician, it can be a tough ask to fix house vents.
Start by mixing water and quick-dry mortar in a bucket. Be sure to follow the directions on the mortar’s packaging while you’re at it. The end goal is to have mortar with a consistency similar to that of thin oatmeal.
Then, carefully apply a thin mortar layer to the insides of the house vent hole. Deft trowel manoeuvres can help you reach the entire length and breadth of the vent hole. We recommend a mortar layer measuring 0.25 inches thick.
Then, carefully place the replacement house vent in the foundation hole. You can also use a trowel to apply another mortar layer on the outside edges of the foundation hole.
Precision is a big part of how to fix foundation vents. You want the mortar layer to overlap the insides of foundation holes and the outer edge by one inch.
Decide on the Replacement Vent
Replacement vents are crucial to fixing house vents. With plenty of options in the market, your choice here will determine how long your house vent stays in great condition.
Metal vents are the most common option for house vents. They’re strong and will remain in great condition for a long time.
Plastic options are an alternative route to fixing faulty house vents. They come with screws and don’t require mortar to stay in place. Automatic vents are the best option to fix your house vents. They open and close depending on the outside weather conditions. But, automatic house vents can be tricky to install.
At the very least, you’ll need to pay close attention to the manufacturer’s recommendations for installing the house vents. At worst, you’ll need an electrician to install wiring for the automatic vents.
Related Article: How Do You Fix Air Vents in Your House
How to Cover Your House Vents
Covers are key to keeping house vents in great working condition for a long time. It’s not enough to fix house vents. You also have to ensure the vent covers are in great shape.
Here, the approach will differ depending on the type of vent cover:
For Screen Vent Covers
Here’s what you need to do:
Start by Measuring the Vent Cover
The height and width of your house vents will determine the vent cover’s dimension. House vents typically come with large squats or slats that keep out large rodents. But you can always replace these vent covers with smaller slats.
Smaller slats often come with a mesh screen that prevents small rodents and insects from getting in. Plus, they allow for optimal airflow through and around the vents.
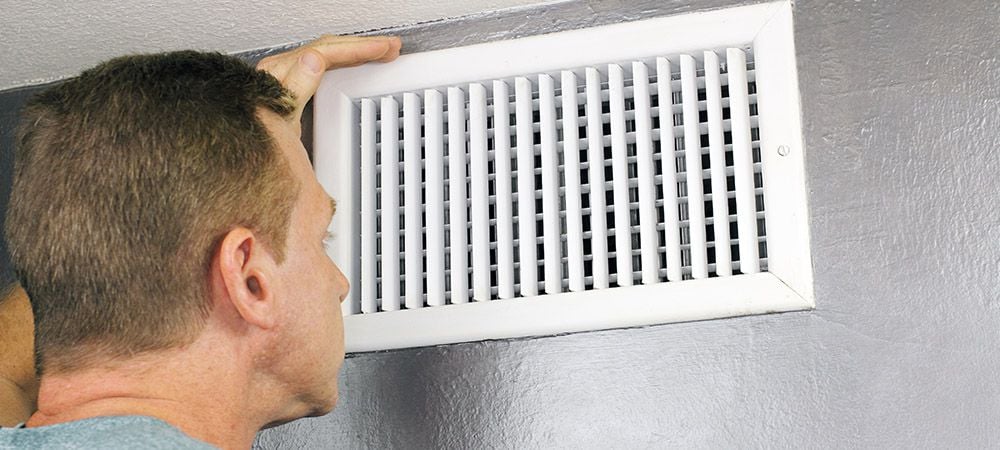
Remove the Old Vent
The old vent will have screws holding it in place. You’ll need to unscrew them to remove the old vent. Be sure to account for every hex nut holding the screws securely inside the vent. You can remove the old vent after removing all the screws holding it in position.
Install the New Vent
Slide the new vent into the frame located outside the inner wall of your crawl space. Then, put each screw in the holes facing you. You’ll need to tighten the screws and hex nuts with your crescent wrench.
Screen vent covers often come with weatherstripping foam that forms a tight seal around the vent seal. If your screen vent doesn’t come with this foam, you’ll need to improvise. Caulking is an alternative option that can create an airtight seal around the vent opening.
Plastic Vent Cover
Here’s how to fix a plastic cover on your house vent:
Take a Measurement
Just like with a screen vent cover, accurate measurements are the first step to fixing a plastic cover on your house vent. We recommend buying a size higher than the measurements you take.
Plastic vents are fully insulated. Plus, they also come in different colours. The colour variety means you can always find a plastic vent cover that matches your home’s foundation.
Set the Vent in Position
It’s important that the plastic vent cover completely covers every inch of the vent hole. Line up the plastic vent carefully and double-check to ensure complete coverage.
Screw in the Vent Cover
Plastic vent covers always come with masonry screws in their packaging. Drive these screws through holes on the outside of your vent cover. You can also use silicone caulk to ensure an air-tight seal.
Fixing Ductwork Under the House
House vents are the outermost component of ductwork underneath your home. The intricate ductwork system keeps hot air inside the ducts while keeping cool air cold. It’s a delicate task that requires the ducts to be leak-free and clean.
Clean ducts will improve the efficiency of your home’s HVAC system. In the same vein, an effective HVAC system keeps you comfortable and helps you save money.
Here’s how to fix the ductwork under your house:
Assess the Ductwork
The first step is assessing how dirty your home’s ducts are. You’ll need a mirror and a lamp to inspect the ducts. Place the lamp at one end of the duct. Then, use a mirror to inspect the duct by placing it at the opposite end.
The above is a delicate task that requires placing the mirror in the ideal position to show what’s inside the duct. Therefore, you may need to try out several positions for the mirror and light. How dirty the ducts are will determine whether or not you need to clean the entire system.
Dirty ducts may require expert intervention. Although, it’s a task you can tackle if you have a powerful vacuum and compressed air hoses.
Look For a Leak
Leaks in your ductwork will impact efficient airflow through your home. Plus, it’s easy to mistake a leak issue for a need to fix your house vents. Hence, we recommend checking for leaks by feeling around for air movement in the ducts.
Leaks in your home’s ductwork often appear around the connection joints. You can even check behind the insulation while assessing these potential problem areas.
Improper duct support can cause the system to sag and burst a leak. Therefore, you should check the load-carrying sections in the ductwork for possible leaks.
Block the Leak
Start by placing the pieces of insulation material back together. You can also use metal screws to attach duct pieces to one another. Cover the exposed duct with insulation and secure it in place with insulation.
Add Support Straps
Foil tape and screws are the best way to hold duct bits together. But, you can always add nylon ties and straps for extra support.
Combining nylon toes and foil tape is the best way to hold duct pieces together. It’s a combination that also works for insulated flexible ducts.
Check for Possible Leaks
You’ll want to check for leaks after repairing house vents and ductwork. This precautionary step is important to ensure the ductwork is airtight and has zero leaks.
We also recommend testing the support straps holding the ducts in place. Sometimes, you may need to add extra straps to counteract the downward pull of gravity. It’s better to add support straps in a straight line. Doing so delivers a combined support effect that relieves pressure at critical connections and joints.
Related Article: How to Stop Bugs Getting in Through Dryer Vents
Final Thoughts
Here, we’ve covered all the info you need to fix a house vent. It’s a complex task that requires attention to detail. Plus, you’ll also need to get your hands dirty.
Prime Appliance Repairs can step in if the above doesn’t sound like an exciting prospect. Get in touch with us today! We’ll do the dirty work of fixing your house vents and ensuring your home appliances are working well.