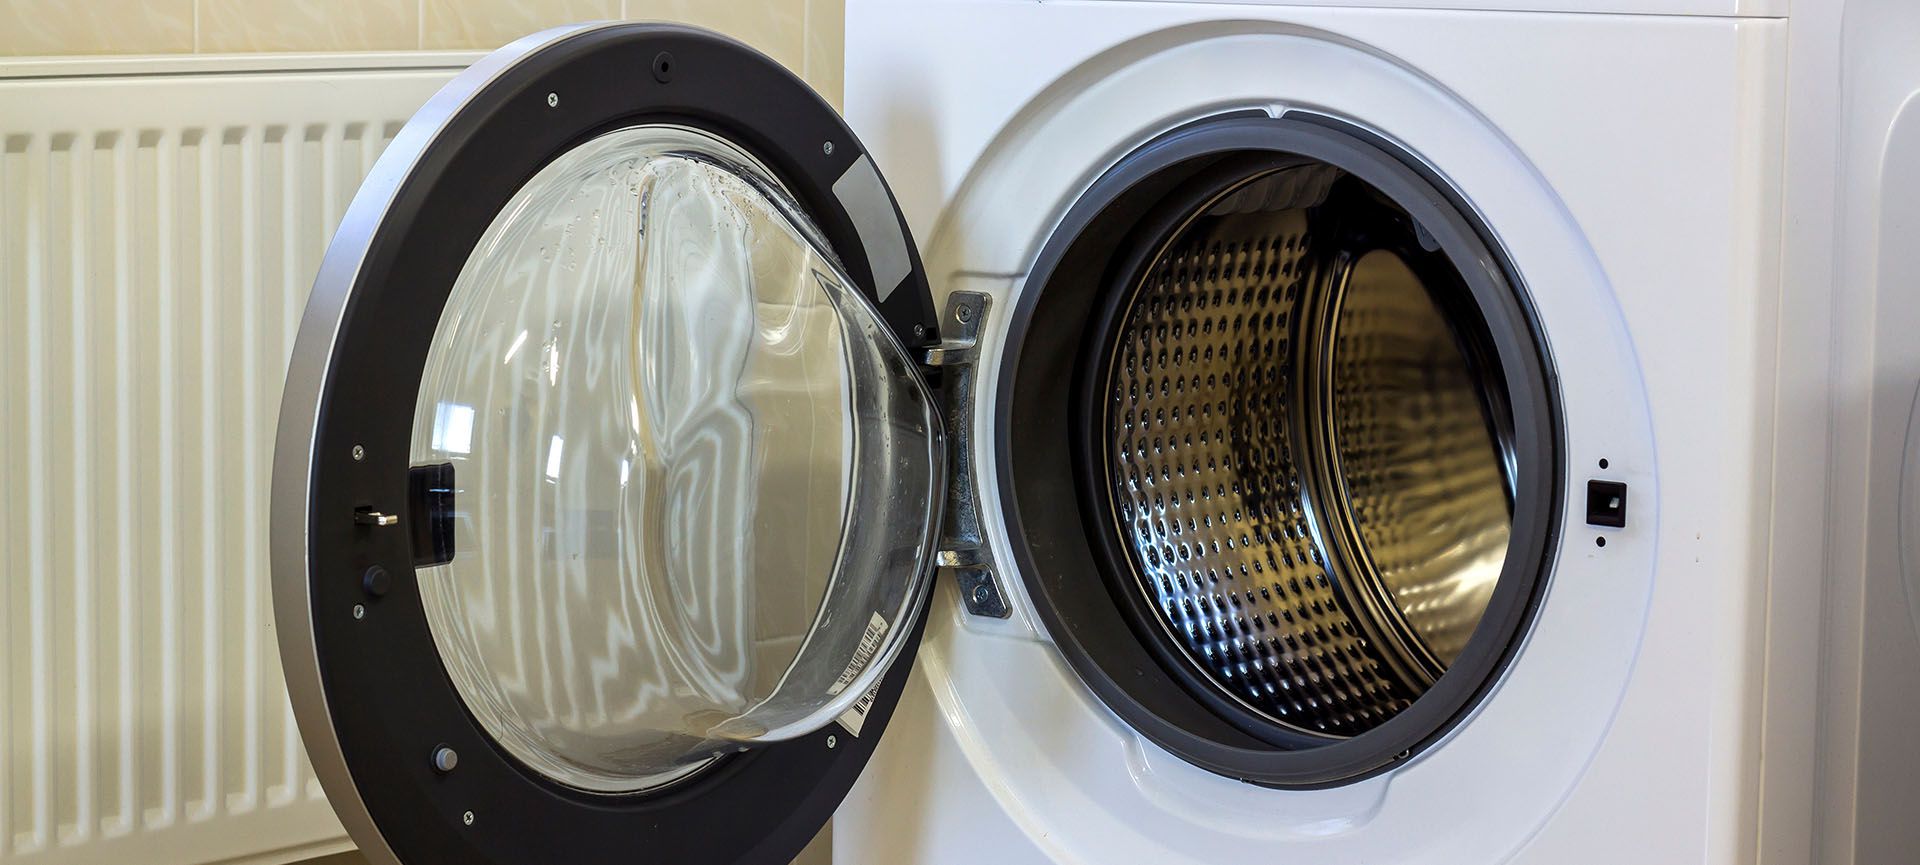


A decade ago, drying wet clothes on a drying rack was still pretty commonplace. That’s all in the past now. Today, you can dry wet clothes in less than ten minutes, thanks to the technological masterpiece that is a dryer.
But your dryer won’t remain in great condition forever. When your dryer breaks down, you’ll need information on how to diagnose it. That’s why we’re writing this blog.
Here, we’ll discuss the first steps to take when repairing a faulty dryer. This way, you don’t have to spend all day waiting around for a dryer repair technician.
We’ll start off with the safety precautions for troubleshooting a dryer.
Precautions for Diagnosing Your Dryer
The obvious precaution is to turn off your dryer before you start to diagnose it. This precautionary move will prevent possible electric shocks. You should also wear gloves and safety glasses before fiddling around with a faulty dryer.
Now that you have your safety in check, the next step is preventing damage to the device. We always advise first-time DIYers to take detailed notes while taking apart their dryers. You can go as far as taking pictures while you tamper with wiring, parts and panels in the system.
This precautionary step will ensure you know where everything goes when you put the system back together. It’ll save you time, energy and needless frustration. Plus, you can also side-step extra damage to your dryer.
The final preparation step before troubleshooting a faulty dryer is getting all the tools you need for the job. You’ll need more than one screwdriver to diagnose a faulty dryer. You may need a spanner, a tester and a multimeter for many of the troubleshooting steps below. Keep reading to see what we mean.
Related Article: How to Stop Bugs Getting in Through Dryer Vents
How to Diagnose a Dryer That’s Not Coming On
Dryer not coming on is arguably the most common dryer repair issue. The good news is you can troubleshoot and possibly fix this fault without expert help — as long as you know what to look for.
Start by checking the settings to ensure they’re in the correct position. Another talking point is the start button. Sometimes your dryer may not be coming on because the start button is in the off position.
Power
You can diagnose a faulty dryer by inspecting the electric connection. Check your dryer’s power source to ensure it’s receiving electricity. You can also use a multimeter to check the outlet’s voltage.
If electricity isn’t reaching your dryer, then you’re in the clear. The problem is likely with the circuit breakers in your electrical panel. Breakers can trip off, a situation that calls for complete replacement.
The next point of call is the outlet. If the breakers are still on, the problem may be with the outlet. Use the multimeter to check that the outlet generates the current your dryer needs to work.
The power cord is the last point of call if the outlet and circuit breakers are good. Wear, tear or constant movement can cause your dryer’s power chord to fray and stop working.
Check the Terminal Block
The terminal block is the next component to inspect if your dryer passes the power test. The only issue here is the dryer needs to be on for this test to work. Consequently, this point is a good place to call in a dryer repair technician if you’re not comfortable working around electricity.
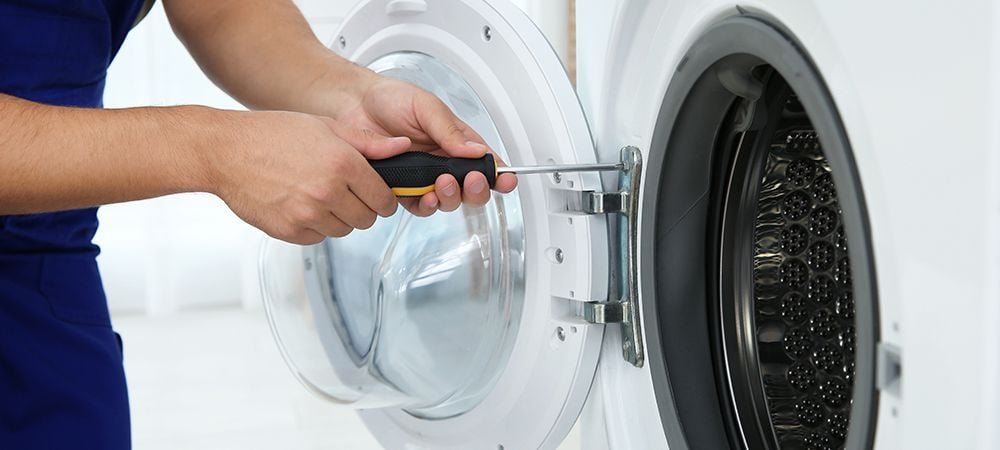
Start by removing the access panels that lead to the power chord. Then, find the terminal block and take its voltage reading using a multimeter. Low voltage means your dryer is faulty due to a bad terminal block. Luckily, you can easily buy a replacement terminal block at a hardware store near you.
Replacing the terminal block will require you to turn off the dryer. Remove the block’s mounting screws and disconnect the power wiring attached. You’ll need a screwdriver (flathead) to remove and replace the terminal block.
Door Switch
Your dryer won’t come on if the door is open for one reason or the other. Debris around the door hinge is one reason it may not be closing. Another possible culprit is lint around the door switch. The build-up of these materials can prevent your dryer door from closing properly and engaging its switch.
Fixing this problem is as simple as cleaning the area around the door hinge. Plus, you can always prevent a future reoccurrence by cleaning the door area regularly.
Sometimes, the culprit here is a faulty door switch. This is usually the case if no dirt buildup prevents the doors from closing normally. You’ll need to open the cabinet door and install a replacement switch in your dryer.
A Faulty Thermostat
The average modern dryer has multiple thermostats which regulate the appliance’s internal temperature. The thermostat in operation depends on the choice of drying cycle. And thermostats are important to your dryer’s operation because they prevent the device from getting too hot and overheating.
The thermostat is usually present in your dryer’s airflow path. It’s usually in the inner section of the exhaust system. Other modern dryer systems also have a thermostat in the blower wheel.
The thermostat has an oval shape and is about 1.5 inches long. Two wires connect the thermostat to the power source. Disconnect both wires and label them so you’ll know how to reconnect them afterwards.
Then, rest the thermostat by setting your multimeter to RX and placing its probes on each thermostat terminal. A thermostat in good working condition will give zero continuity readings — anything other than that, and you’ll need to buy a replacement thermostat for your dryer.
Start Switch
The start button is a logical place to look in your bid to diagnose your faulty dryer. Troubleshooting this fault will require you to open your device’s control panel. Set your multimeter tester to RX1, remove the switch’s leads and attach the probes to them. The multimeter should give you an infinity reading.
The next step is pressing the start button. Check the reading after doing so; it should be displaying zero. This result means your dryer has a faulty start switch that requires replacement.
Thermal Fuse
Modern dryers have thermal fuses located inside the device’s exhaust duct in the rear panel. These thermal fuses can trip off. And when that happens, your dryer won’t come on.
If the diagnosis is a faulty thermal fuse, you’ll be spending money on repairs. Usually, you’ll need to buy a replacement thermal fuse for your dryer.
How to Diagnose a Noisy Dryer
Your dryer making loud noises can be a huge imposition on your comfort. In fact, it can be near impossible to have a good night’s rest with the dryer making noise.
The answer to why your dryer is making noise is its many moving parts. Squeaking, humming, thumping, and squealing noises will become a part of your dryer’s operation when these parts start to experience wear and tear.
Other reasons your dryer may be making loud noises include:
Glides
Plastic glides are typically in the front end of your drum. With time, the quality of these glides will reduce due to wear and tear, causing loud noises coming from your dryer.
Support Roller
The support rollers in your dryer are responsible for supporting the drum. And they often become super noisy due to wear and tear. We recommend replacing all the support rollers inside the drum instead of one. This way, you won’t have to open up the dryer to fix more support rollers anytime soon.
Blower Wheel
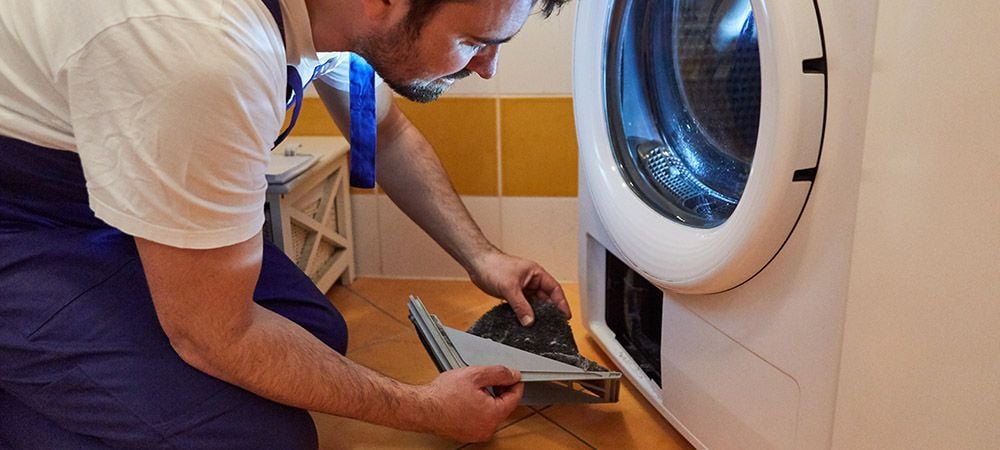
A problem with the blower wheel will have your dryer making loud banging noises. Objects like lint or dust particles can build up in the blower wheel, obstructing its smooth operation. Sometimes you can fix this problem by cleaning the blower wheel. Other times, you may need to replace entire sections of your blower wheel.
Belt
The main belt wraps around your dryer’s drum and is responsible for its turning motion. Over time, this belt can wear out and start to thump against the drum. You’ll need to buy a replacement belt and install it if this is the problem your dryer has.
Other Common Dryer Problems and How to Fix them
If your dryer’s peculiar issue isn’t in the above sections, then we’ll talk about it here. Here, we’ll cover other common fryer issues, how to diagnose them and what you need to do.
Dryer Wrinkling Clothes
Usually, your dryer roughening up your clothes has nothing to do with the internal system. This problem is easy to fix. Most of the time, you don’t even need a screwdriver to fix the problem.
Here’s why your dryer may be wrinkling your clothes:
- No fabric softener
- Small or huge loads
- Water temperature too hot for the clothes in the dryer
- Improper laundry cycles
- Incorrect dry cycles
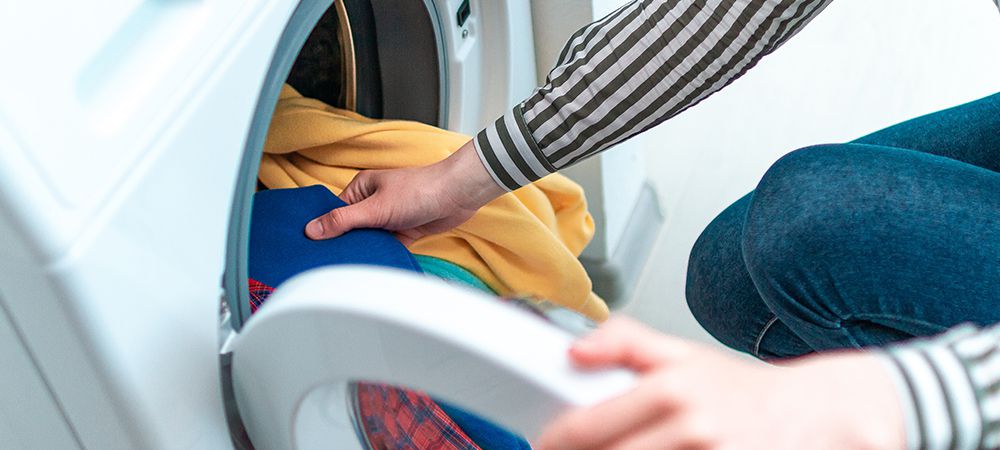
You can stop your dryer from wrinkling your clothes by choosing the permanent press drying cycle. You should also avoid drying multiple laundry loads at the same time. Finally, don’t combine light and heaving clothing in the dryer simultaneously.
Dryer Not Getting Hot
The best way to diagnose the cause of this dryer problem depends on your device’s energy source. For a gas dryer, start by checking the supply line and ensuring it’s set to open.
Electric dryers work using two circuit breakers and household fuses. Therefore, the dryer may still turn if one fuse blows. However, it won’t get hot. If this is the case, fixing your dryer starts with installing replacement circuit breakers and fuses.
In the same vein, your dryer won’t get hot if its thermal fuse blows due to a current surge. Luckily, these fuses are cheap and simple to replace.
We often diagnose a thermal resistor or thermal fuse problem when the dryer stops getting hot after working for a while. Usually, it’s because these components turn off the dryer to avoid overheating. Your troubleshooting efforts should include inspecting these parts with a voltmeter.
Clothes Taking Too Long to Dry
The lint filter should be your first stop when your dryer is taking too long to dry clothes in it.
Here, the solution is to clean the lint filter. A filter with too much lint will limit airflow which is necessary for fast drying.
Another point that needs attention is the exhaust vent. If the vent that leads outside isn’t working well, the dryer drum will trap moisture, preventing the device from getting hot. You’ll need to run your dryer for a few minutes to diagnose this problem.
Hold your hand under the exhaust vent to feel for air movement. Zero air movement means the vent is blocked and needs comprehensive cleaning. You may also want to check for snow and leaves blocking your dryer vent.
If the exhaust vent is clean, your next stop on the troubleshooting journey is its connection. Ensure it’s a proper connection with no kinks and leaks. We also advise replacing a flexible hose connection with a more efficient rigid system.
Your dryer may not be getting hot because the room is too cold for it to work. Most people don’t know it, but a dryer won’t get hot in a room with a temperature below 45 F°.
The airflow around your dryer may also be limiting its ability to get hot. The forward-facing part of your dryer should have a minimum clearance of 1-2 inches while it’s 5 inches for the back. Ensure your dryer’s position meets these air circulation requirements.
Related Article: Electric vs Gas Dryers: Which One Is Best for You?
Summary
There’s no one-size-fits-all answer to how to diagnose a dryer. You simply have to play the elimination game until you arrive at the guilty component. Consequently, troubleshooting your dryer can be frustrating and time-intensive.
This is where we come in at Prime Appliance Repairs. Here, our experienced dryer repair professionals will troubleshoot your device, identify the fault and fix it the same day you call us. Get in touch with us today!